
Introduction
What if a flat sheet of material could kinetically respond to external stimuli?
How can a flat two-dimensional surface take a complex 3-dimensional shape? How can it expand, contract, bend, fold, etc.? How can we transform a flat surface into an array of interconnected parts working in harmony with one another?
In this first part of the workshop, you will be designing patterns that alter the behavior of a flat material by means of cutting.
Methodology
Departing from a parametric exploration of the traditional patterns of Islamic art and Japanese kirigami, the workshop will aim to design, compute and fabricate ‘responsive skins’: performative surfaces that allow for expansion, contraction, double curvature, auxetic systems and more.
The applications of these kinetic patterns range across scales and disciplines: product design, fashion, furniture, architectural facades, deployable structures, self assembly systems, soft robotics, metamaterials and more.
In this workshop, we will be using Rhino and Grasshopper to generate files for laser cutting through a parametric design system that allows us to feature continuous differentiation and to calibrate the files to the limitations and behaviors of the material and tool.
You will develop your own Grasshopper definitions to design and fabricate your skins. You will also be introduced to Kangaroo Physics for interactive simulation of the kinetic surfaces.
We will be using 5mm-thick foam for the prototypes. The material is available at the lab.
Use this Miro board to share your progress as you go.
Step 1 | Choose and compute your pattern
Watch tutorial 0 (A, B, C, D, E, F, G, H, I – details at the bottom of this page) and tutorial 1 (parts A, B, C) and follow the instructions below:
In this step you will research and analyze Islamic art patterns, understand their geometric logic, and compute them using Grasshopper.
- Research and choose an Islamic Art pattern that you would like to use as starting point.
- Compute the pattern using Grasshopper.
- Visualize it with different colors and differentiate its compositional layers (cyan, magenta, black, shades of grey); bake it and export it to Adobe Illustrator.
- Using attractor points and curves, apply continuous differentiation to your pattern. Bake it to Rhino and export the differentiated drawing to Adobe Illustrator.
*deadline: Sunday April 25th, 11:59pm – to be uploaded on your blog as week 1 module.
Step 2 | Create your modular cut pattern
Watch tutorial 2 (parts A, B, C) and follow the instructions below:
In this step you will translate your pattern into a laser cutting file that will transform the flat sheet of foam into a performative surface that has the possibility to expand and shrink using auxetic systems.
- Driving inspiration from the craft of kirigami and the geometric logic of auxetic lattice structures, design your cut-pattern building block following the modular pattern grid designed in step 1.
- Simulate the expansion behavior of your pattern’s building block using Grasshopper.
- Feature the transformation system of your building block in a GIF image (screen record the transformation in Rhino generated by your grasshopper definition).
- Translate the building block into a series of laser cutting curves. Keep in mind that the material might tear with gaps smaller than 1mm. A safe minimum gap is 1.5mm.
- Aggregate the cut-curves of your building block on your pattern’s grid to fill a square of 15cm x 15cm.
- Bake your file. Make sure to prepare it well for laser cutting: no duplicate curves, join shattered curves, no overlaps. Export it from Rhino to Adobe Illustrator: use R0-G0-B0 (black) stroke color and 0.001mm stroke weight. Remember to place the outer boundary in the first layer and the inner cut lines in the second (this will specify that the outer boundary will be cut at the end). Save the file as Adobe Illustrator (choose version CS5 when asked).
- Navigate to this sharepoint link where you will upload your files for us to check them. Make sure to name your file as such (01-valeria-bob_modular.ai) the number corresponds to the time of submission when you access the link. Once the file is checked and discussed with Joanne, please email Simone and Mona, cc’ing Joanne, to share the file with them.
*deadline: Wednesday April 28th, 9am.
Step 3 | Create your parametric cut pattern
In a rectangle of 15cm x 45cm, you will create a version of your cut pattern that features continuous differentiation.
- Decide what type of transformation you would like to implement within your cut pattern.
- Place your attractor(s) – point / lines /curves.
- Perform the differentiation.
- Export the pattern and prepare it for laser cutting. Same link for submission, naming reference (01-valeria-bob_differentiated.ai). Once the file is checked and discussed with Joanne, please email Simone and Mona, cc’ing Joanne, to share the file with them.
*deadline: Thursday April 22nd, 9am.
Step 4 | Explore the prototypes & improve your files
Once the files are cut, pick up your two prototypes from the lab. What deformation does the pattern allow you to do? Document the responsiveness of your ‘skin’ in a series of images (JPG for static images and GIF for animations).
Make sure to take the pictures against a clean white background. Choose the best angle and light conditions for your images.
*no deadline: extra points
Step 5 | Submit on the blog
Follow this Adobe Indesign template to feature your work for this phase. You will also be submitting the GIF animated images that portray the responsiveness of your skins as well as your scripts. Our Miro board will be used to evaluate you process, which will be part of the grading criteria.
*deadline: Sunday May 1st, 1:30pm.
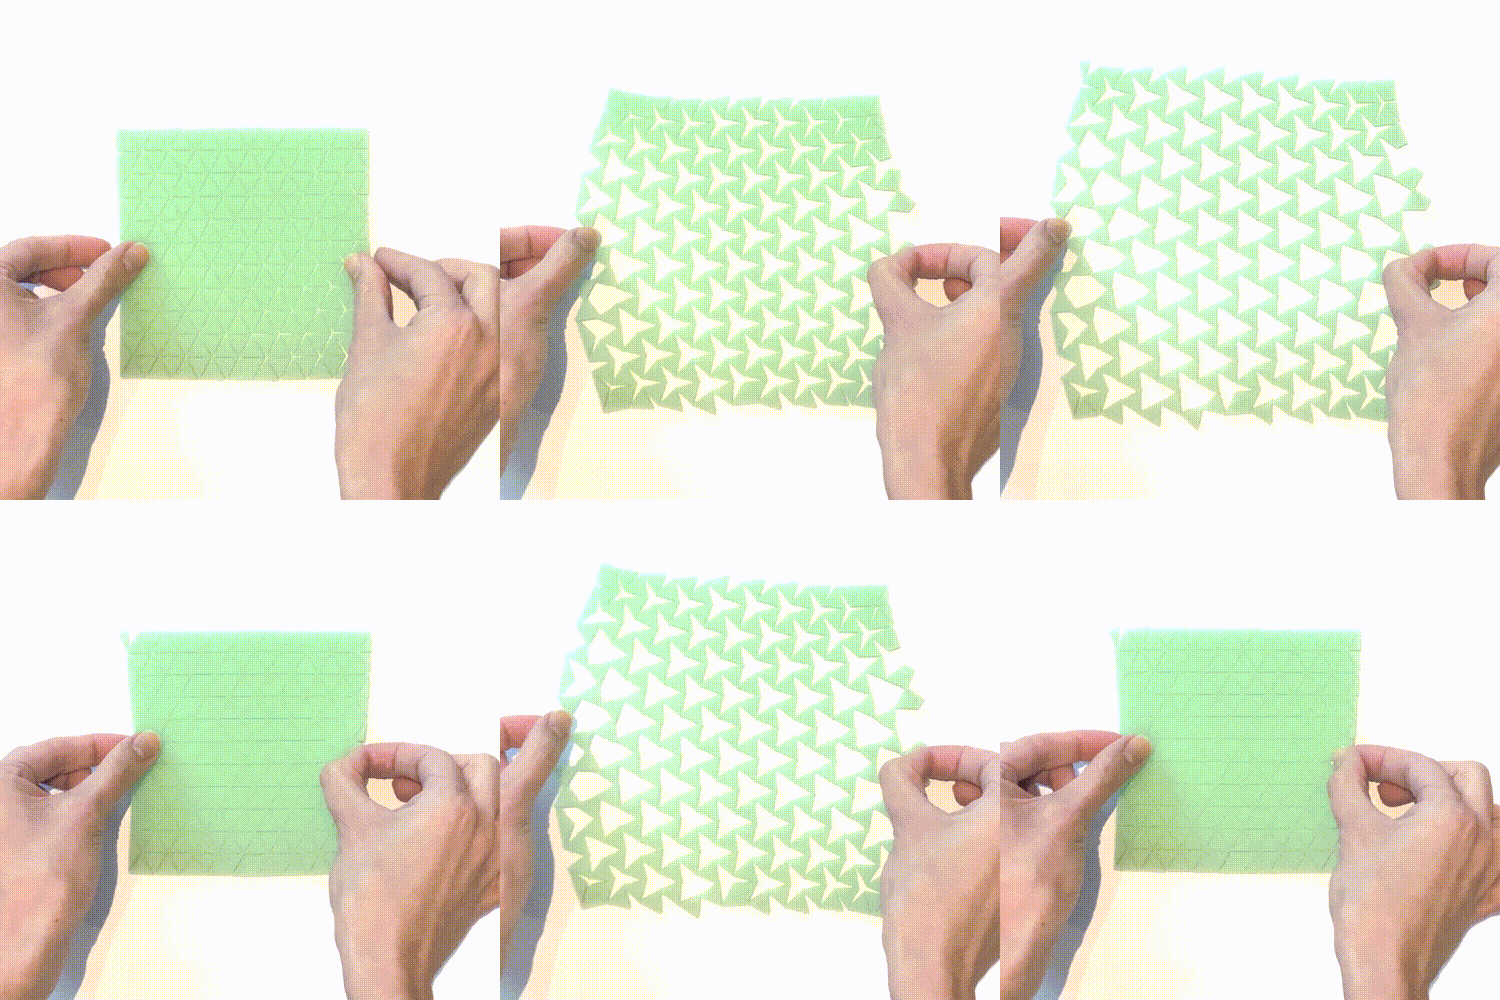
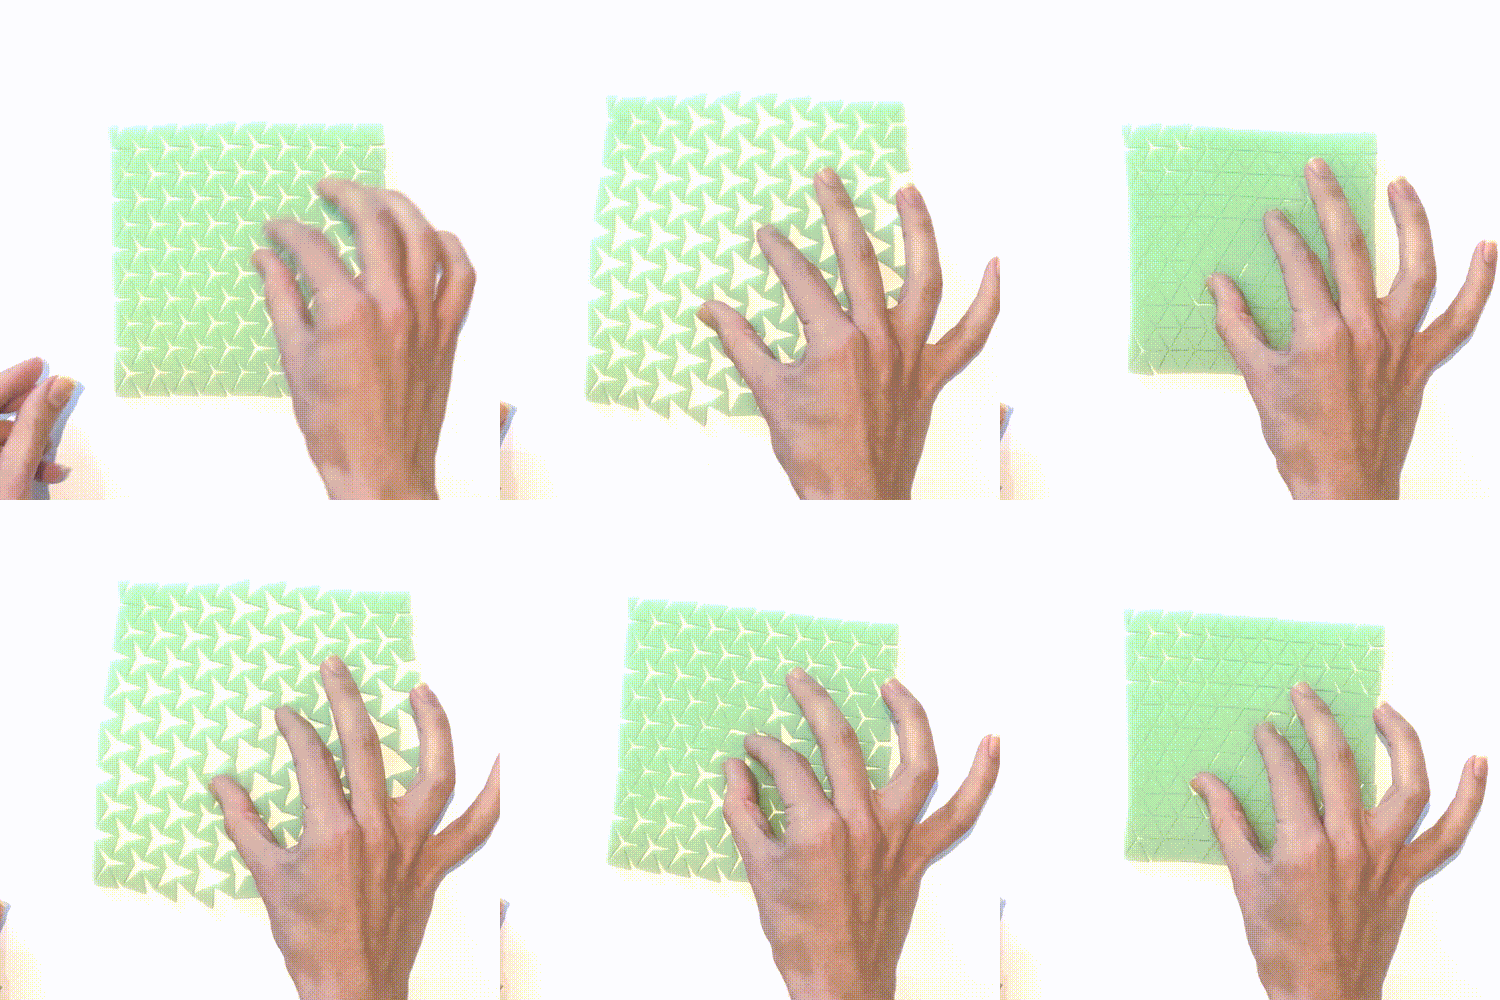
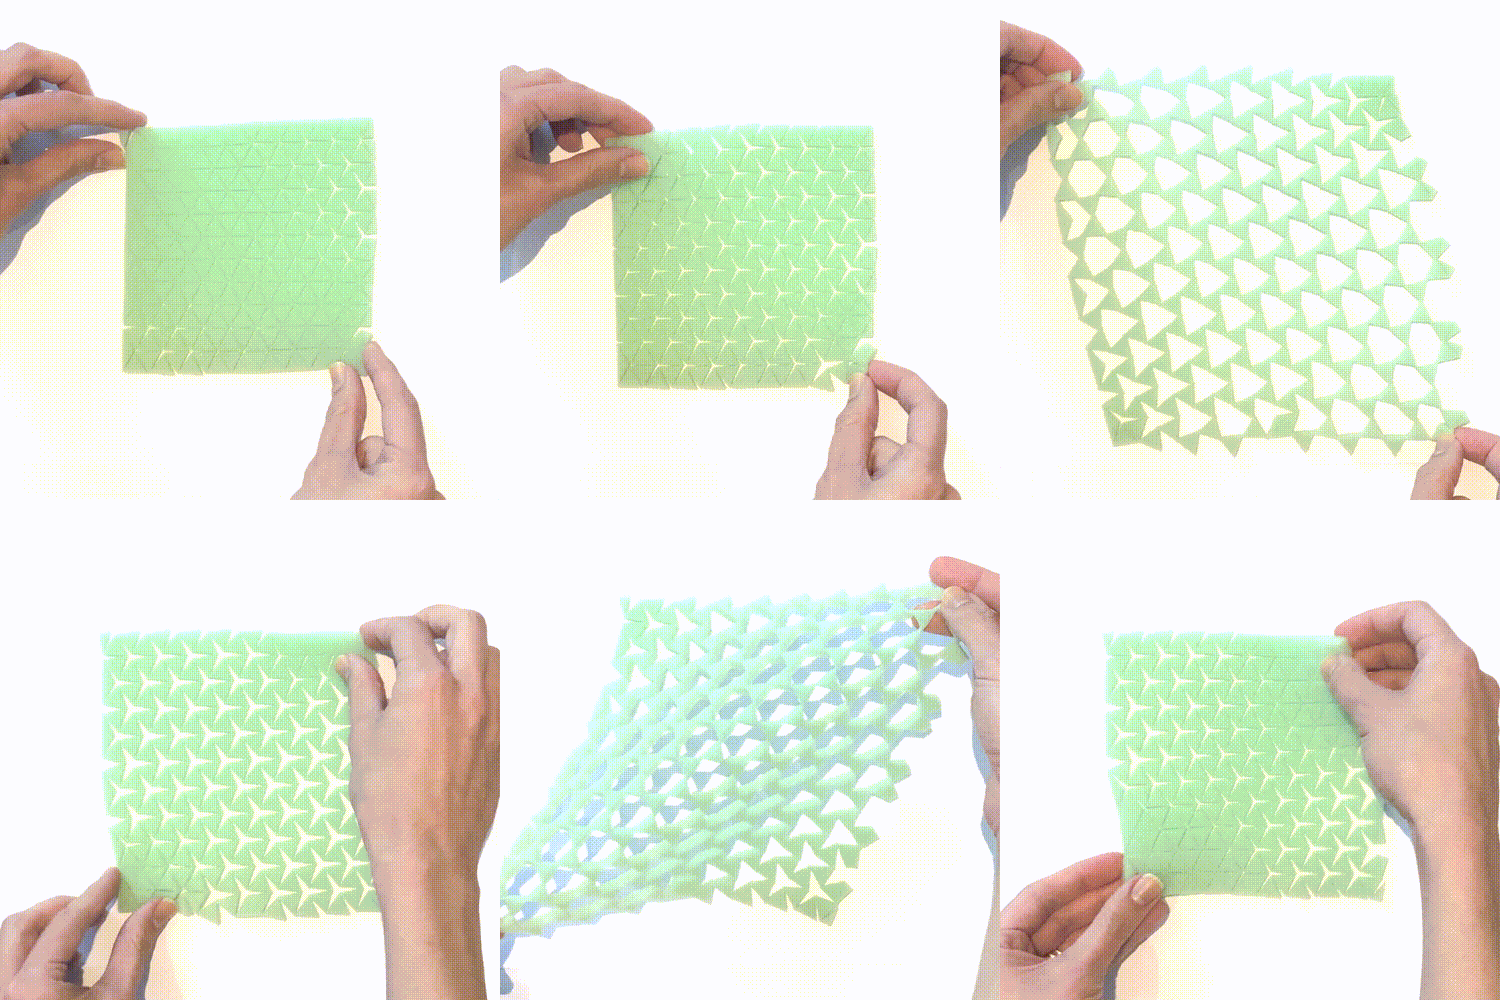
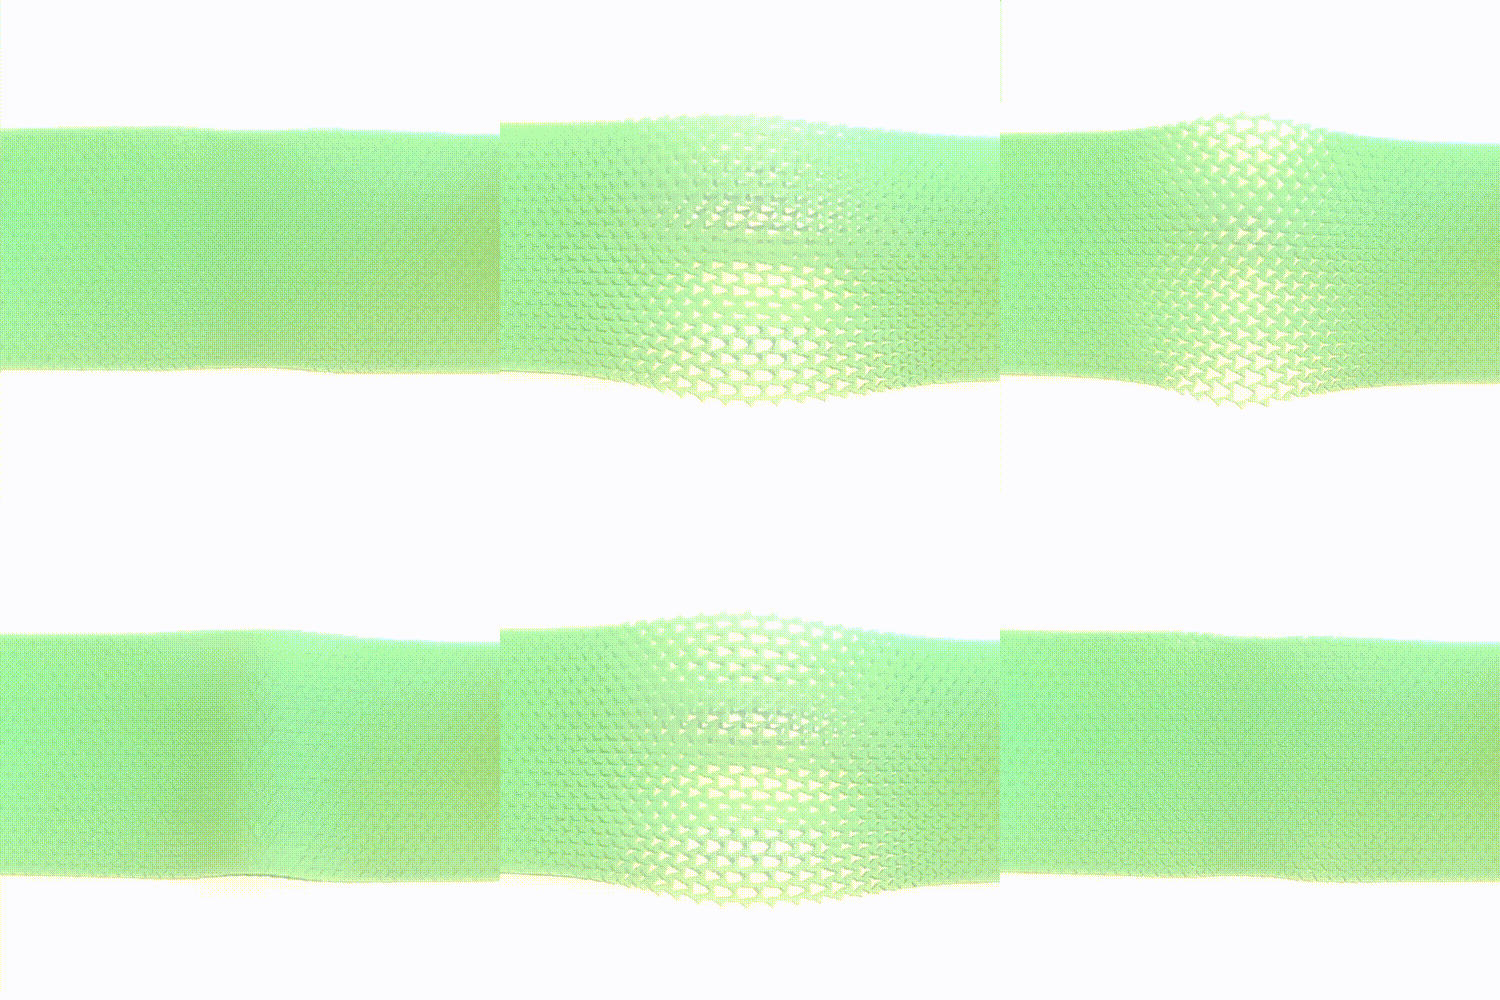
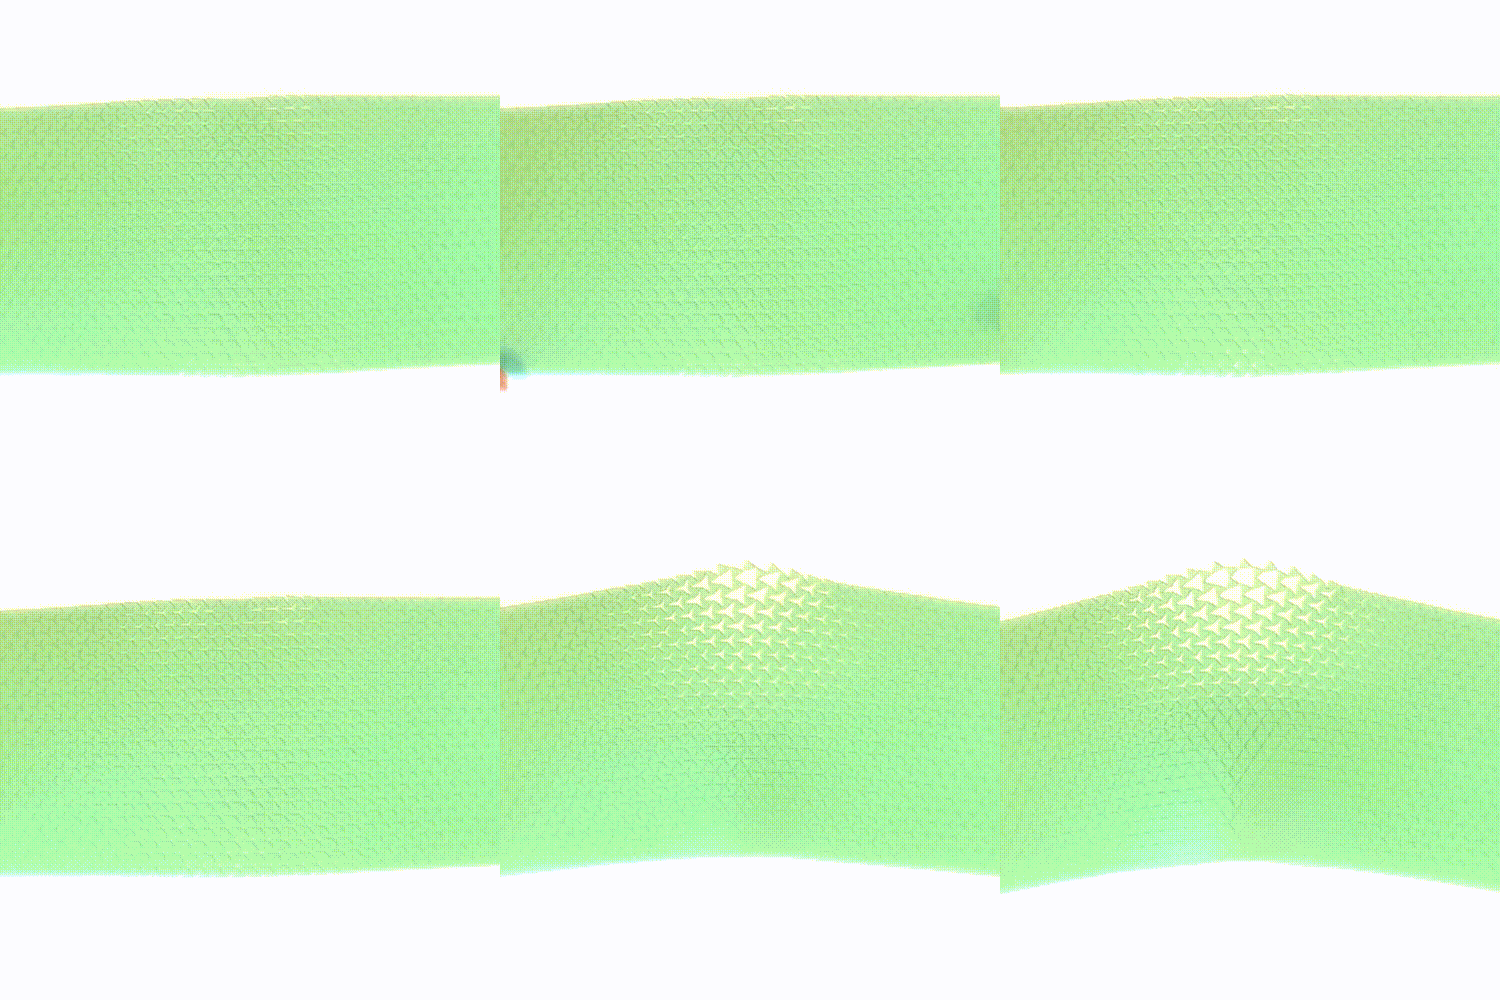
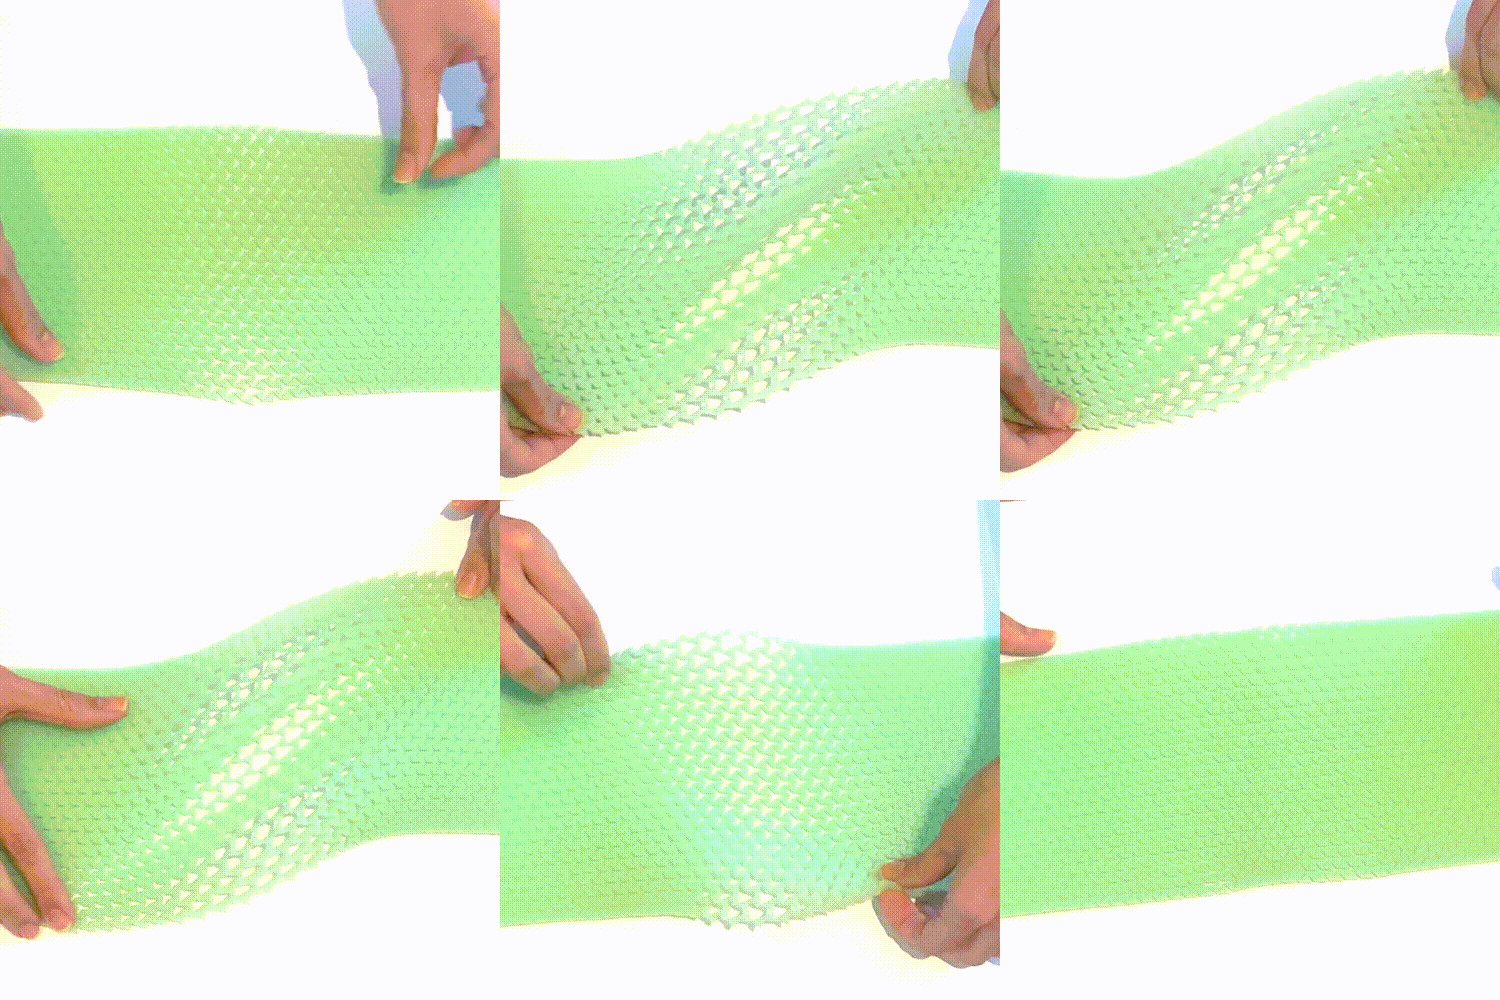
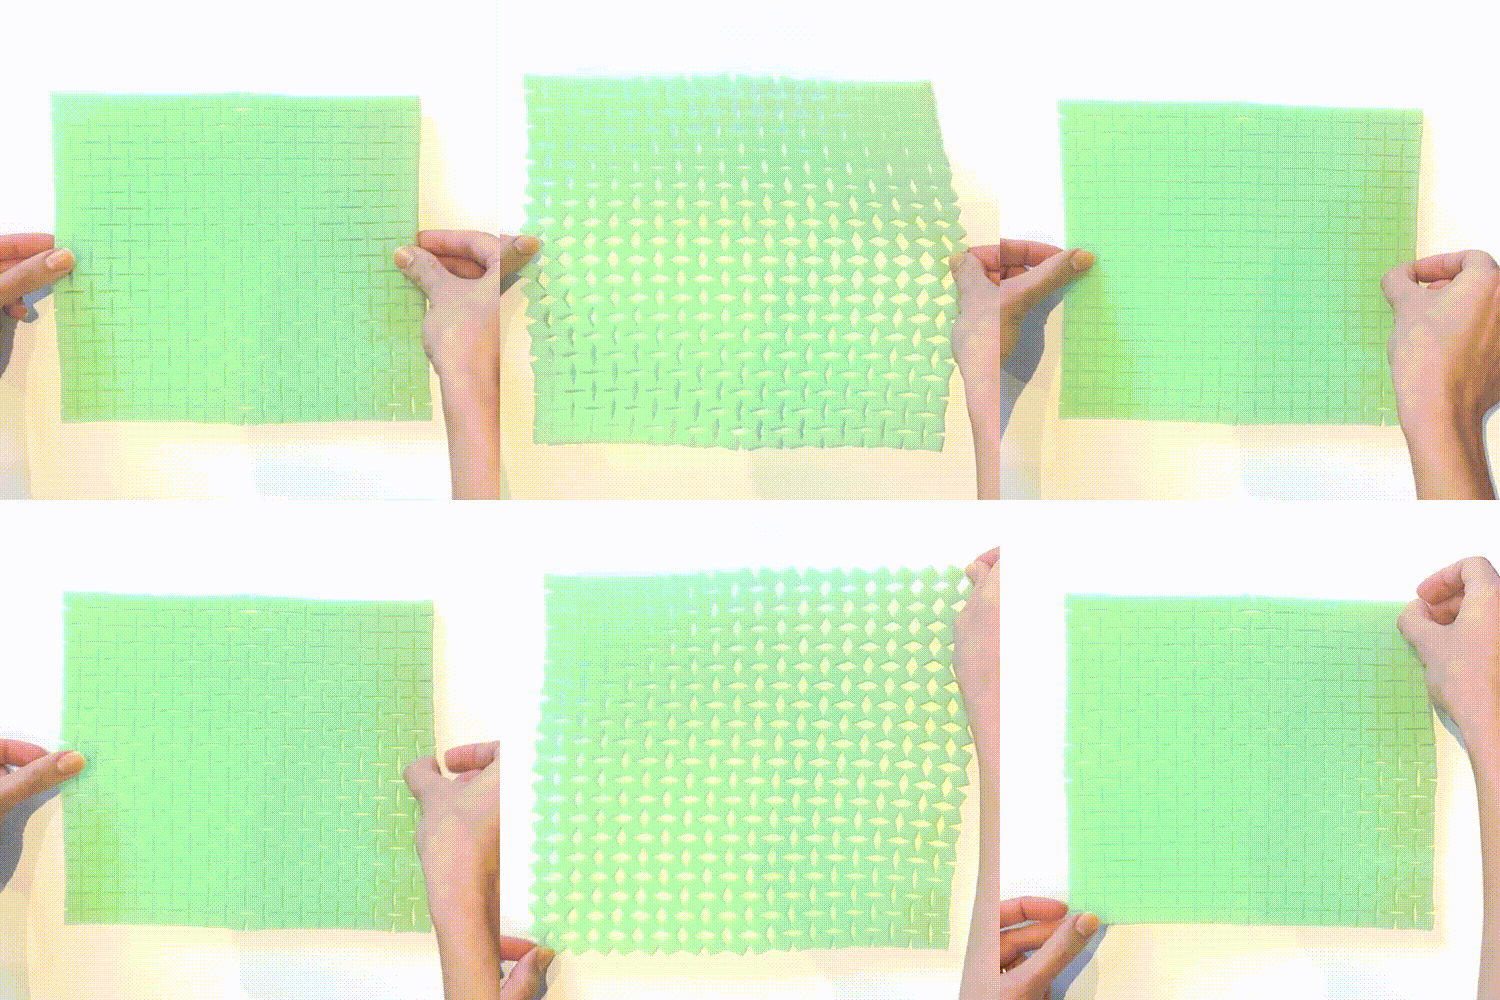
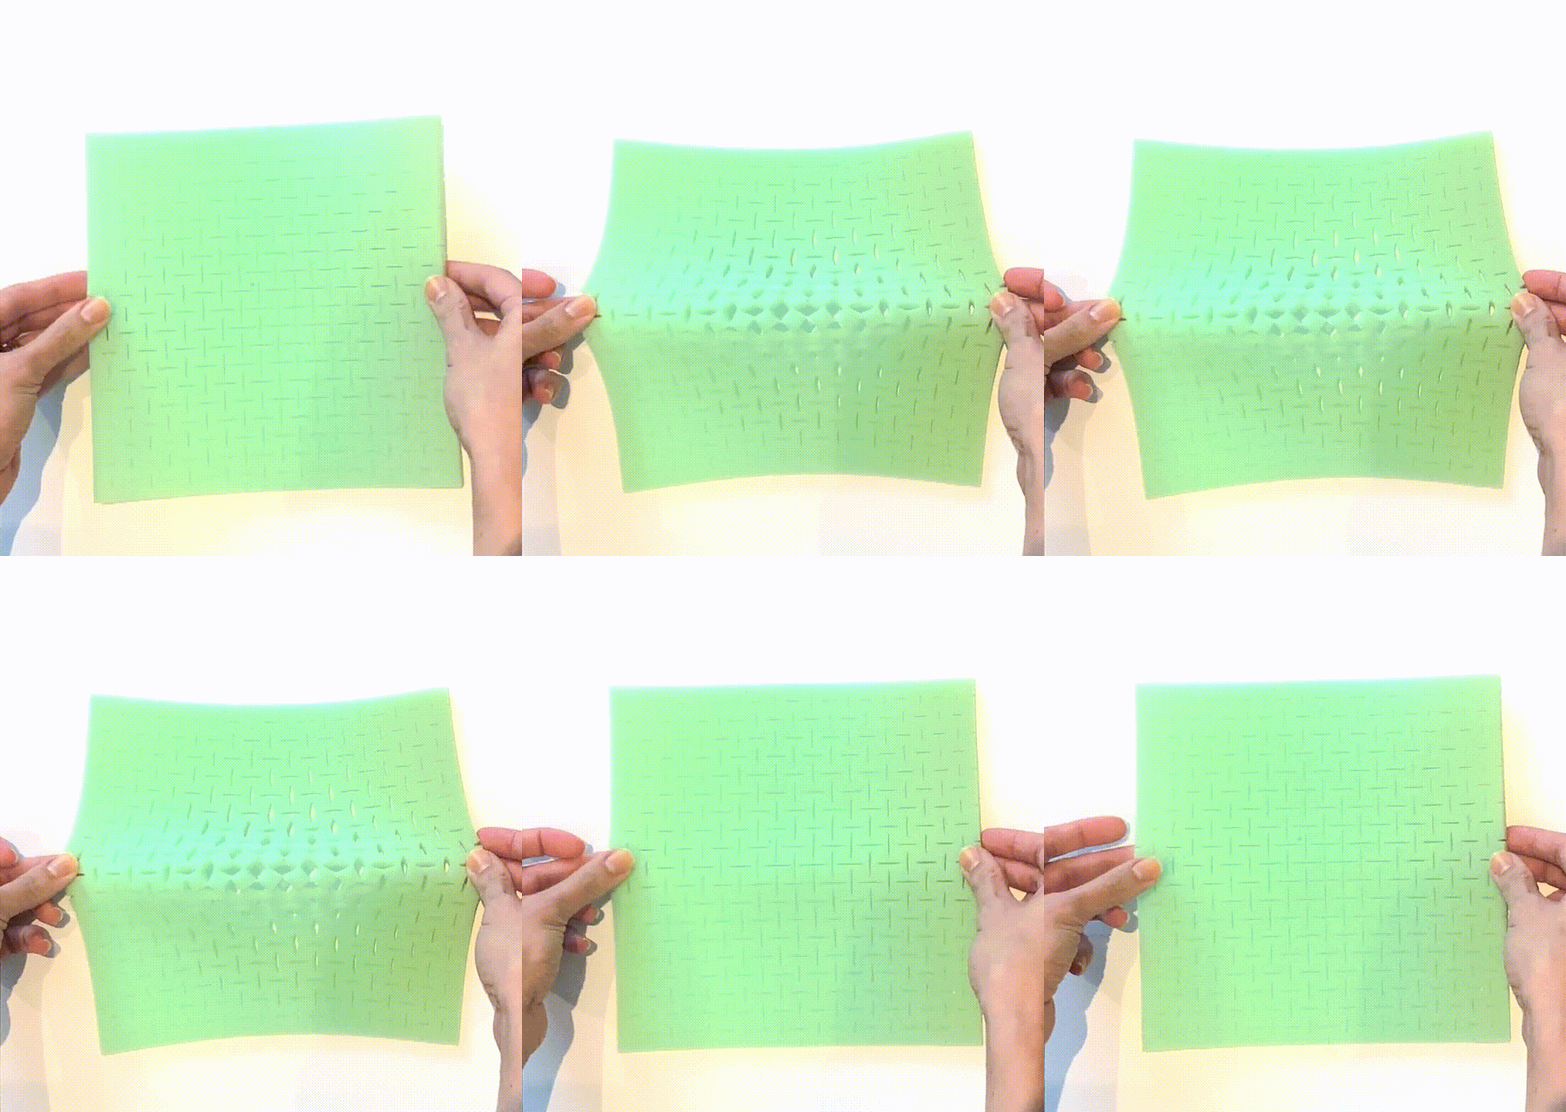
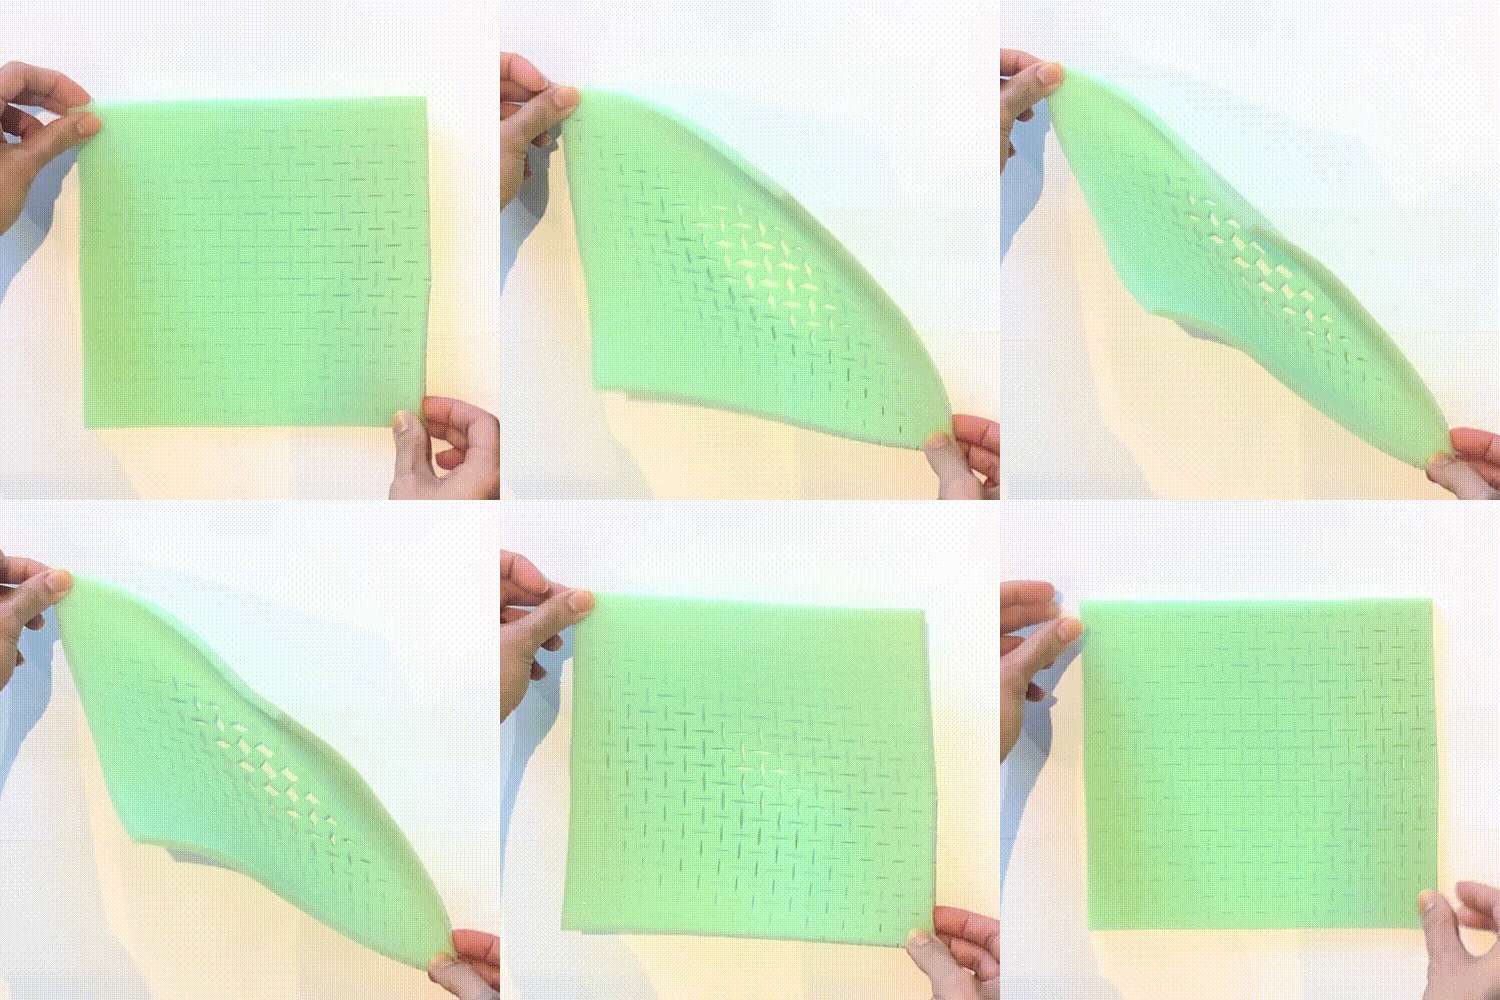
Auxetic patterns laser cut on foam – comparing modular and parametric behaviors and responses.
Introductory Tutorial (reference file)

