
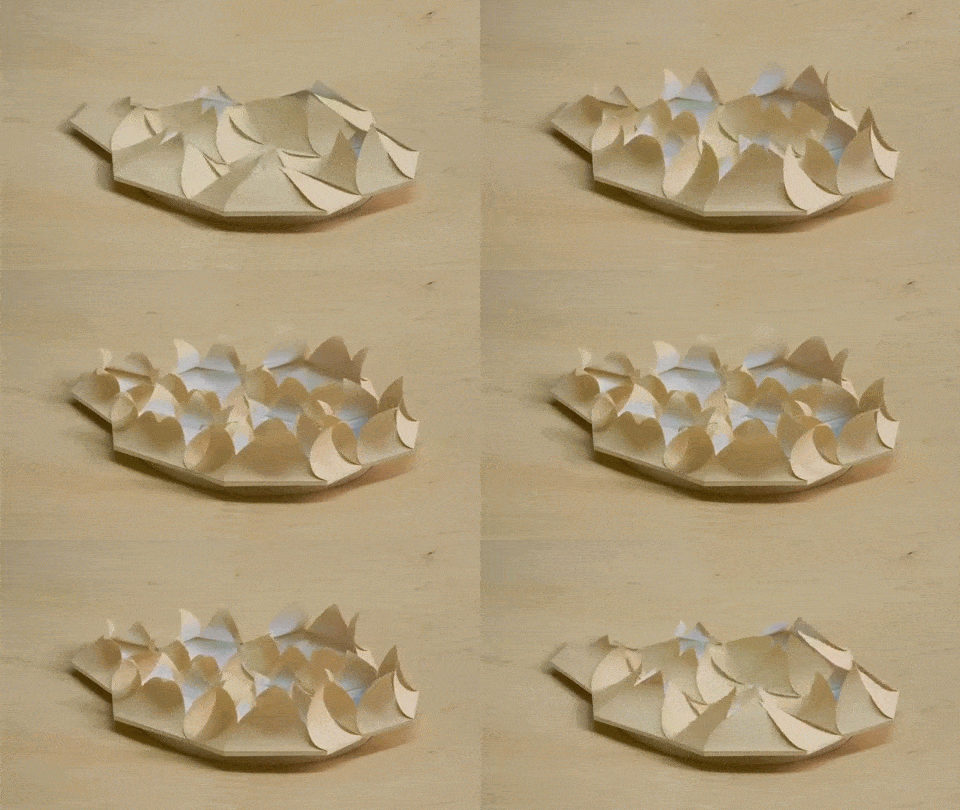
HygroSkin — Meteorosensitive Pavilion. By Achim Menges, Oliver David Krieg, and Steffen Reichert at the Institute for Computational Design (ICD).
In this new module, you will explore how the geometry of your tile can inspire a kinetic system that will act as a responsive skin when exposed to certain environmental stimuli.
STEP 1: Ideating and Sketching
Draw the potential evolution of your tile’s geometry into a kinetic system.
Discuss it with your professor.
STEP 2: Prototyping
Create different prototypes enabling the kinetic system to work.
Choose the material(s) for the final prototype.
Discuss it with your professor.
STEP 3: Modeling and Detailing
Model the kinetic geometry.
Simulate its movement through 2D and 3D drawings.
Detail the joints depending on the choice of materials.
Prepare a CNC or 3D printing file.
STEP 4: Manufacturing
Manufacture the kinetic surface.
STEP 5: Documenting
Take nice white background pictures of the kinetic surface in movement.
Create a GIF to document it.
STEP 6: Responsive Skin Concept
Think of potential applications of this kinetic system.
What external factor(s) does the tile respond to?
How?
Discuss it with your professor.
IN PREPARATION FOR NEXT MODULE:
Buy the following items and start experimenting with them:
1. Arduino Kit (Make sure it includes the Ultrasonic Distance Sensor before buying)
2. Sensors
3. Servo Motor
Start doing basic Arduino tutorials to familiarize yourself with the microcontroller and sensors.

